In this guide本指南目录
What makes a good sketch photo什么样的照片适合转素描 The settings explained参数详解 5 pro tips5 个专业技巧 Ideas to try创意玩法What makes a good sketch photo
A pencil sketch effect works by finding edges — the places where brightness changes sharply — and redrawing them as graphite lines. The classic method used here is Sobel edge detection, the same algorithm behind many desktop filters. It scans every pixel, measures how fast the surrounding brightness changes, and keeps only the strongest transitions.
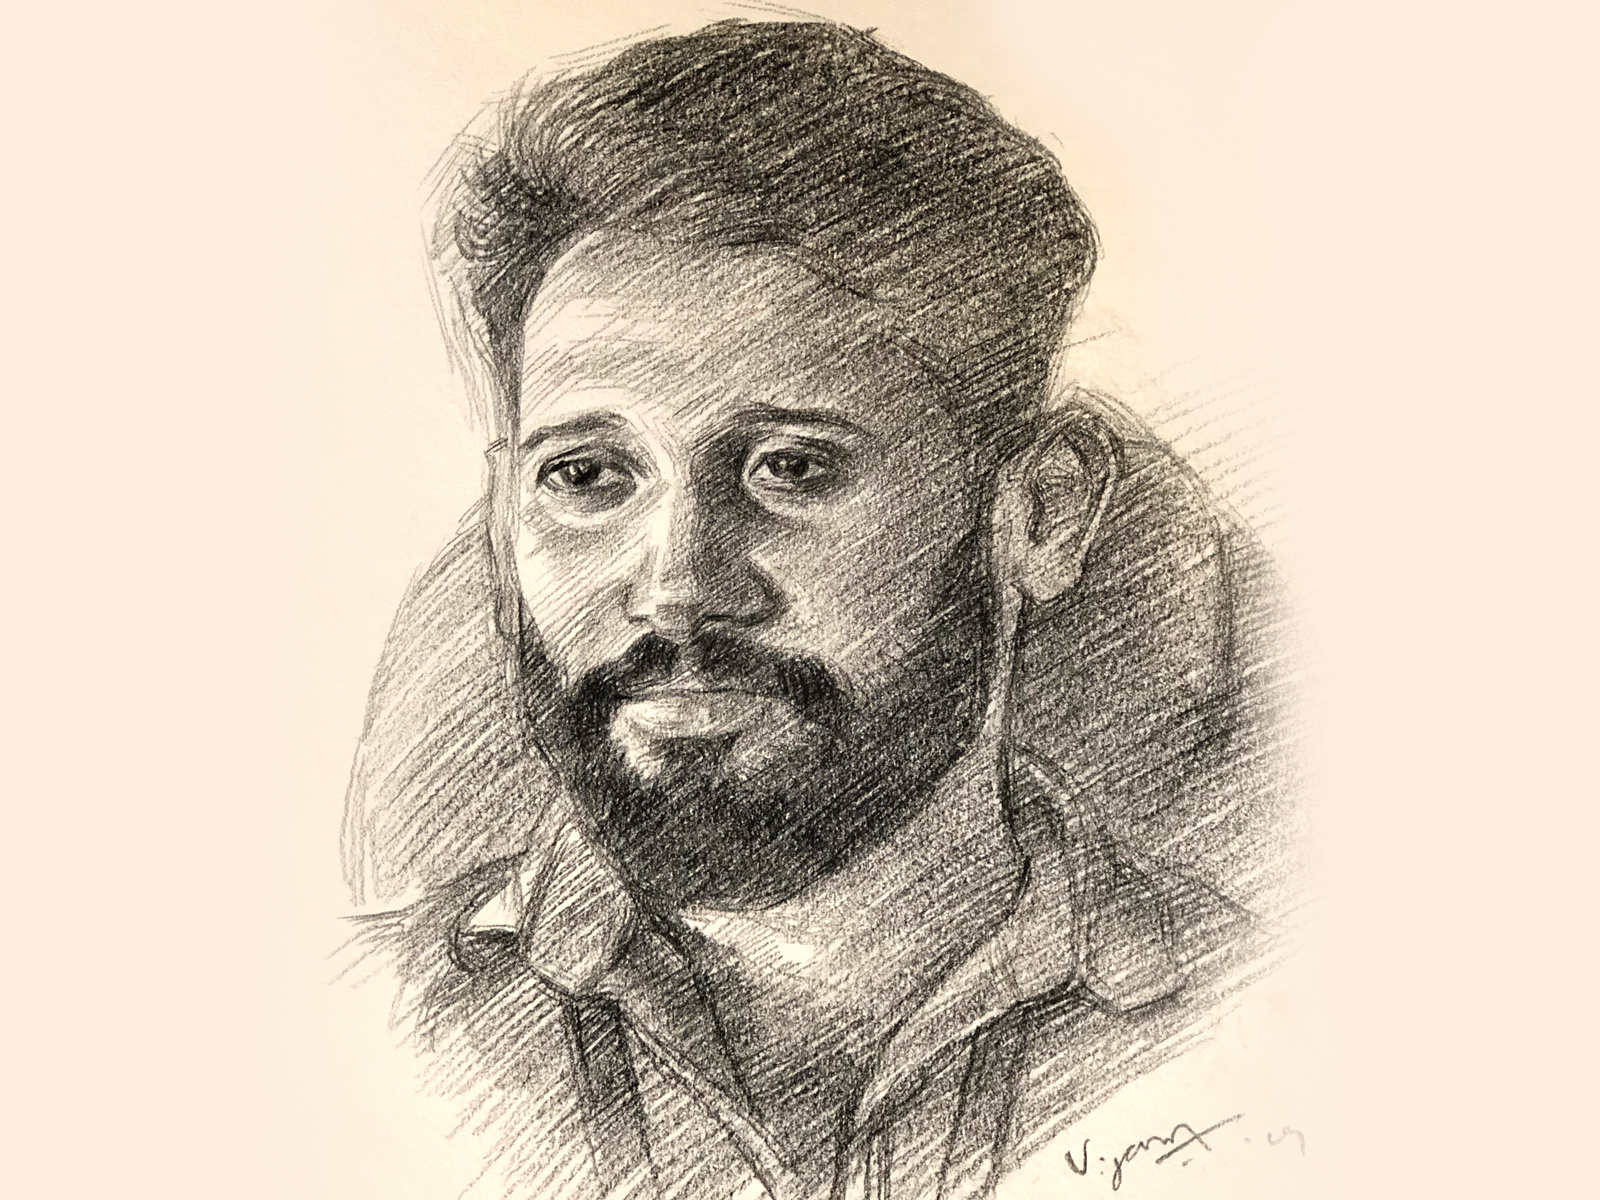
That means the best source photos are high-contrast and well-lit. A face lit from the side, a pet with a bright background, a building against a clear sky — all convert beautifully. Busy, low-light photos with lots of noise produce messy, gray smudges instead of clean lines.
Resolution matters less than clarity. Even a small photo works, because the sketch is built from edges, not texture. What matters is that the subject is sharp and separated from the background.
The settings explained
Line Detail controls how many edges survive. At 30, only the boldest outlines remain — a clean, minimal drawing. At 80, every eyelash and fabric fold becomes visible. Start at 50 and adjust toward the subject: portraits usually like 40–60, architecture likes 60–75.
Graphite Depth is how dark the pencil gets. Low values give a light, airy HB sketch. High values push toward a heavy 6B look, with deep blacks that suit dramatic portraits and tattoo transfer sheets.
Softness blurs the tone underneath the lines. A little softness makes the drawing feel hand-made; too much and it turns to fog. For most photos, 4–8 is the sweet spot.
The classic artist trick: sketch from a reference photo at 50% opacity, then darken the key lines. Our filter does the same in one click — then you can take over with real pencils.
5 pro tips
- Portraits: raise Line Detail so the hair keeps its texture — hair is where cheap filters fail.
- Coloring pages: export at 2× or 4× HD and keep the lines thin. Kids' pages need clean, closed outlines.
- Tattoo designs: boost Graphite Depth to near 70 and lower Detail to get bold, readable linework.
- Wedding guest books: a soft sketch at Detail 45 looks elegant next to handwritten notes.
- Before/after content: keep the original next to the sketch and drag the comparison slider — this is exactly the content that performs on social feeds.
Ideas to try
Sketch your dog as a gift print. Turn a graduation photo into a line drawing for a card. Convert a landmark shot into a minimal poster. Because the effect runs locally, you can batch through a whole album without uploading anything — every image stays on your device.
Pair the sketch with the Ink Outline tool for a finer pen look, or with Charcoal for a moodier, grainy finish. The result page recommends four related tools, so one upload can become a full art series in minutes.
Troubleshooting common problems
If your sketch looks muddy, the usual cause is a low-contrast source. Raise contrast before processing, or increase Graphite Depth while lowering Softness so the lines sharpen up. If the result looks too busy, the opposite is true: lower Line Detail to around 35 and raise Softness to 6–8, which melts the noise into a gentle pencil wash.
For photos with heavy background texture, try cropping closer to the subject first — the effect performs best when the background is simple. And if faces come out unrecognizable, that usually means the light was too flat; a slight side-light in the source photo does more for the sketch than any slider can.
Sketch for coloring pages
Coloring pages need closed, unbroken outlines — kids fill shapes, they don't follow dashed lines. Export at 2×–4× HD with Line Detail around 40 and a thin, even stroke. Avoid halftone-style textures; keep the interior of each shape clean white. Silhouette mode can help pre-visualize which areas will read as solid.
This is one of the fastest-growing niches for effect tools, and the good news is you can produce a full page in seconds: choose a simple, high-contrast photo, run the sketch, export, and print on A4. No drawing skills required — just taste in choosing the source.
Export & sharing
Sketch results travel well because they look like intentional art. For social posts, export at 2× and pair the sketch with the original in a before/after slider — that contrast is the hook. For print, export at 4× and let the print shop decide the rest.
Bookmark the tool before you leave the page; the next portrait you want to sketch will be one click away, and your favorites travel with you on any device.
Frequently asked questions
Can I use the sketch commercially? Yes — the output is generated on your device and belongs to you. You can use it for products, prints, social posts, or client work without attribution. The only thing you cannot do is claim the tool itself as your own software.
Does it work on group photos? It works on any photo, but a sketch of four faces spreads the line budget thin. For best results, sketch each person separately or use one strong close-up. Multiple faces also respond well to Ink Outline, which keeps each face's contour crisp.
Why does my result look different from the preview? The preview renders at a smaller size for speed; the download renders at the full export resolution. If they differ noticeably, re-run at the final export scale before downloading. Because processing is local, re-running costs nothing and takes seconds.
Is there a limit on how many photos I can convert? No. There is no account, no queue, and no daily quota. You can convert a thousand photos in a session if you want — each one stays on your device and costs you nothing but a few seconds.
什么样的照片适合转素描
铅笔素描效果的核心是寻找边缘——即亮度发生急剧变化的位置——并将其重绘为石墨线条。这里使用的经典方法正是 Sobel 边缘检测,与许多桌面滤镜背后的算法相同。它逐像素扫描,测量周围亮度变化的速度,只保留最强的过渡。
这意味着高对比度、光线充足的照片效果最好。侧面受光的人脸、明亮背景前的宠物、蓝天映衬下的建筑——都能出色转换。而杂乱、暗光、噪点多的照片只会得到一团灰蒙蒙的污渍,而非干净线条。
分辨率的重要性不如清晰度。即使是小照片也能出效果,因为素描由边缘构成,而非纹理。关键在于主体清晰、与背景分离。
参数详解
线条细节决定多少边缘被保留。30 时只留下最醒目的轮廓——干净、极简的绘画;80 时每一根睫毛、每一道衣褶都清晰可见。建议从 50 开始,再按主体微调:肖像通常喜欢 40–60,建筑喜欢 60–75。
浓度决定铅笔有多深。低数值得到轻盈通透的 HB 素描;高数值逼近厚重的 6B 效果,深邃的黑色适合戏剧性肖像与纹身转印稿。
柔化会模糊线条下方的色调。一点柔化让画面有手绘感;过多则变成雾气。大多数照片 4–8 最为合适。
画家的经典技巧:先以 50% 不透明度画参考素描,再加深关键线条。我们的滤镜一键完成同样的事——之后你可以用真铅笔接手。
5 个专业技巧
- 肖像:提高线条细节,保留头发纹理——头发正是廉价滤镜最容易翻车的地方。
- 涂色页:用 2× 或 4× 高清导出并保持线条纤细。儿童涂色页需要干净、闭合的轮廓。
- 纹身设计:把浓度提到 70 左右并降低细节,得到粗壮、清晰的线条。
- 婚礼来宾簿:细节 45 的柔和素描,与手写留言放在一起显得优雅。
- 前后对比内容:把原图放在素描旁,拖动对比滑块——这正是社交信息流上表现最好的内容形态。
创意玩法
把爱犬转成素描作为礼物打印;把毕业照变成贺卡上的线稿;把地标照片做成极简海报。由于效果在本地运行,你可以不上传任何内容就批量处理整本相册——每张图片都留在你的设备上。
把素描与墨线描边工具搭配,得到更细的钢笔效果;或与炭笔搭配,得到更阴郁、更颗粒的质感。结果页会推荐四个相关工具,一次上传几分钟内就能变成一整套艺术系列。
Troubleshooting common problems
如果素描看起来很脏,常见原因是原图对比度不足。处理前先提高对比度,或加深浓度并降低柔化,让线条变锐。如果结果太杂乱,则相反:把线条细节降到 35 左右、柔化提到 6–8,让噪点融化成一抹温和的铅笔水洗。
背景纹理很重的照片,建议先裁切靠近主体——背景简单时效果最好。如果人脸变得难以辨认,通常是因为光线太平;原图中一点侧光比任何滑块都更有用。
Sketch for coloring pages
涂色页需要闭合、不断的轮廓——孩子是往形状里填色,不是描虚线。用 2×–4× 高清导出,线条细节约 40,笔触细而均匀。避免半调类纹理,保持每个形状内部干净纯白。剪影模式可帮助你预览哪些区域会被读作实心块。
这是效果工具增长最快的细分场景之一,好消息是你几秒就能产出一整页:选一张简单、高对比的照片,运行素描,导出,A4 打印。不需要绘画技巧——只需要选择素材的品味。
Export & sharing
素描结果传播力强,因为它看起来像刻意为之的艺术。社交发帖用 2× 导出,并把素描与原件放进前后对比滑块——那个反差就是钩子。印刷用 4× 导出,剩下的交给印店。
离开页面前先收藏这个工具;下一次想画肖像,一键即达,收藏还会跟随你的设备。
Frequently asked questions
我可以商用素描结果吗?可以——输出在你自己设备上生成,归你所有。你可以用于产品、印刷、社交内容或客户项目,无需署名。唯一不能做的是把工具本身当作你自己的软件。
群照可以处理吗?任何照片都可以,但四张脸的素描会把线条预算摊薄。最佳做法是分开处理每个人,或用一张有力的特写。多人合照用墨线描边效果也很好,它能保持每张脸的轮廓清晰。
为什么结果和预览不一样?预览为了速度以较小尺寸渲染;下载则按最终导出分辨率渲染。如果差异明显,请在最终导出比例下重新运行后再下载。因为处理在本地,重跑零成本、只需几秒。
转换照片有数量限制吗?没有。没有账户、没有排队、没有每日配额。你想一次转换一千张都可以——每张都留在你的设备上,只花你几秒钟。
Ready to try it yourself?想亲手试试吗?
Open the tools and turn your own photos into art — free, private, unlimited.
打开工具,把自己的照片变成艺术品——免费、私密、不限次数。